


Did you know that a Murphy bed can save up to 30% of your floor space? This innovative solution is a game-changer for small rooms, offering both functionality and style.
Whether you’re looking to create a guest room, home office, or play area, a Murphy bed can transform your space effortlessly.
Why choose a Murphy bed? It’s more than just a bed—it’s a space-saving solution that keeps your room clutter-free.
With proper planning and the right tools, you can build a sturdy, stylish Murphy bed that fits your needs and budget.
Building a Murphy bed is a beginner-friendly project that can be completed in about a day. It requires basic tools like a table saw and some essential materials such as plywood and hardware.
The cost? You can save up to 83% compared to professional installation, making it a cost-effective solution for homeowners.
Before you start, remember: precision is key. Measure twice, cut once, and don’t rush the assembly.
With these simple steps, you can create a bed that not only saves space but also adds value to your home.
Key Takeaways
- Murphy beds save up to 30% of floor space, perfect for small rooms.
- DIY Murphy beds can save up to 83% compared to professional installation.
- Beginners can complete the project in about a day with basic tools.
- Proper planning and precision are crucial for a successful project.
- The bed can serve multiple functions, from a guest room to a home office.
Introduction to Multifunctional Space-Saving Solutions
Modern homes often face a common challenge: limited space. As lifestyles evolve, the demand for rooms that serve multiple purposes has grown significantly.
Whether it’s a home office that doubles as a guest room or a living area that transforms into a bedroom, multifunctional spaces are becoming essential.
Why a Pull-Down Bed?
A pull-down bed, often referred to as a Murphy bed, offers a practical solution for maximizing space.
By folding up against the wall when not in use, it creates a seamless transition between different room functions. This versatility makes it an ideal choice for small apartments, home offices, and even studios.
Room Transformation Inspiration
Imagine converting an underused corner into a cozy sleeping area or transforming a cluttered office into a serene guest room.
Real-life examples, such as the “poor man’s Murphy bed” approach, showcase how creativity and simple hardware can achieve remarkable results.
This method involves attaching a bed frame to the wall with basic hinges and a support system, offering an affordable and easy-to-implement solution.
| Feature | Benefit | Design Consideration |
|---|---|---|
| Multifunctional Design | Saves space and serves multiple purposes | Ensure the bed frame is sturdy and easy to maneuver |
| Cost-Effective | Significantly cheaper than custom installations | Use high-quality hardware for durability |
| Space Efficiency | Frees up floor space for other uses | Measure the room carefully to fit the bed seamlessly |
By integrating a pull-down bed into your design plan, you can create a functional and aesthetically pleasing space that meets your needs.
Whether you’re a homeowner looking to optimize your living area or a renter seeking a practical solution, this approach offers a smart way to enhance your home’s versatility.
Tools, Materials, and Workshop Essentials
Building a murphy bed starts with the right tools and materials. Whether you’re a seasoned DIYer or a beginner, having everything ready ensures a smooth project.
Essential Tools and Hardware
You’ll need a table saw or circular saw for cutting wood, a drill for screwing pieces together, and measuring tools like a tape measure and square. Sandpaper and clamps are also must-haves. Don’t forget safety gear like safety glasses and a dust mask.
Choosing Quality Wood and Plywood
Select sturdy wood for the frame, like 1″ x 10″ pine boards, and 3/4″ plywood for the mattress platform.
Ensure all pieces fit perfectly by double-checking measurements. Proper planning prevents costly mistakes.
Expert Tip: Use in-store cutting services to save time and money. Opt for affordable, durable materials to stay within budget without sacrificing quality.
A well-organized workshop and precise measurements are key to a successful project. With the right tools and materials, you’ll be on your way to creating a functional and stylish murphy bed.
Getting Started with Your DIY Pull Down Bed Project
Starting your DIY Murphy bed project begins with careful planning and precise measurements.
This step ensures your bed fits seamlessly into your space and functions perfectly.
Measuring and Design Tips
Use a tape measure and square to measure your bed and available space accurately. Consider the room’s layout and where the bed will be installed. Develop a detailed blueprint with all critical dimensions, including the wall where the bed will attach.
- Measure the width and height of your wall to determine the bed’s maximum size.
- Plan the design to fit your room’s multifunctional needs, ensuring it doesn’t obstruct doors or pathways.
- Include weight distribution in your blueprint to ensure the bed is stable and secure.
Budgeting and Cost-Saving Strategies
Managing your budget is crucial for a successful project. Repurpose materials when possible and shop for affordable hardware and wood.
For example, the “poor man’s Murphy bed” approach uses basic hinges and supports, offering significant cost savings.
- Plan your budget to cover all materials, including the mattress and hardware.
- Compare prices for plywood, screws, and other components to stay within budget.
Remember, precise measurements and a well-planned blueprint are key to avoiding construction surprises.
Document each step to troubleshoot and improve your design for future projects.
Building the Bed Frame: Cutting and Constructing the Box
Constructing the bed frame is a critical step in your Murphy bed project. It requires precision and attention to detail to ensure stability and durability.
Let’s break down the process into manageable steps.
Step-by-Step Instructions for the Box Frame
Begin by cutting your wood according to your measurements. Use a carpenter’s square to ensure all corners are perfectly aligned. This step is crucial for the structural integrity of your bed frame.
Next, attach the side boards to form the box. Use corner braces for added stability and cross-support boards to reinforce the frame. These elements will help distribute weight evenly and prevent the frame from warping.
After assembling the frame, test-fit the mattress inside the box. Ensure there’s enough clearance on all sides for a snug fit. This step ensures comfort and safety when the bed is in use.
| Material | Quantity | Usage |
|---|---|---|
| 1″ x 10″ Pine Boards | 4 pieces | Frame sides and supports |
| 3/4″ Plywood | 1 sheet | Mattress platform |
| Corner Braces | 4 units | Reinforce frame corners |
Safety Precautions and Accuracy Checks.
Always wear safety goggles and a dust mask when cutting wood. Use proper lifting techniques to avoid injury. Regularly check your work with a carpenter’s square to ensure accuracy.
Elevate the box slightly to reduce hinge stress, ensuring smooth operation. Double-check all screws and braces for tightness before proceeding.
Remember, precision is key. Take your time with each step to ensure a sturdy and reliable frame that will last for years.
Attaching the Bed to the Wall: Installation Insights.
When it comes to installing your murphy bed, securing it to the wall is the most critical step. Proper installation ensures safety and durability, so it’s essential to get it right.
Locating Studs and Using Anchors.
To start, use a stud finder to locate the wall studs. Mark their positions clearly. Aligning your bed frame with these studs ensures a sturdy installation.
For added security, use high-quality anchors specifically designed for heavy loads.
- Use a stud finder to locate wall studs and mark their positions accurately.
- Position the bed frame against the wall, aligning it with the marked studs for maximum stability.
- Select heavy-duty anchors to secure the frame firmly to the wall.
- Consider adding trim boards as spacers to reduce hinge stress and promote smooth operation.
Drill carefully and ensure the bed is level. Double-check all measurements after installation.
For extra stability, reinforce the connection between the frame and the wall.
Regularly inspect the anchors to prevent wear and tear from repeated use.
Creating the Platform and Integrating Cabinet Trim.
A sturdy platform is the heart of your Murphy bed, ensuring comfort and durability. To achieve this, you’ll need two sheets of 3/4” plywood, which provide excellent support for the mattress.
Start by laying out the plywood side by side, ensuring they align perfectly to form a seamless surface.
Assembling the Plywood Mattress Platform.
Join the two plywood sheets using 1×4 boards placed along the center seam. Secure them with wood glue and screws for added stability.
This method ensures the platform remains sturdy and even, preventing any sagging or movement. Once the platform is assembled, attach it to the bed frame using door hinges.
This allows the bed to fold up smoothly against the wall when not in use.
Enhancing Appearance with Trim and Finishing Touches.
To give your Murphy bed a polished look, install 1×4 trim boards along the front edges. This creates a clean, cabinet-like appearance when the bed is closed.
Apply caulk to fill any gaps and paint the trim to match your room’s decor. For a professional finish, sand all surfaces before painting and consider using a handheld sprayer for a smooth coat.
| Material | Quantity | Usage |
|---|---|---|
| 3/4″ Plywood | 2 sheets | Mattress platform |
| 1×4 Boards | 2 pieces | Center support and trim |
| Wood Glue | 1 bottle | Securing plywood seams |
| 1-1/4″ Screws | 1 pack | Attaching platform to frame |
| Caulk | 1 tube | Filling gaps |
By following these steps, you’ll create a Murphy bed that not only functions well but also looks like a built-in cabinet.
Accurate measurements and steady construction are key to ensuring the platform supports the mattress securely.
A professional finish will elevate the look of your multifunctional room, making it both functional and visually appealing.
Expert Tips and Lessons Learned.
When it comes to building a Murphy bed, experience is your best teacher. Over the years, I’ve learned valuable lessons that can help you avoid common pitfalls and ensure your project turns out perfectly.
Avoiding Common Pitfalls
One of the most frequent mistakes DIYers make is rushing through measurements. Always double-check your numbers to avoid costly errors.
Another oversight is neglecting weight distribution, which can lead to an unstable bed. Proper planning is key to a successful project.
| Common Mistake | Solution |
|---|---|
| Rushing measurements | Double-check all measurements before cutting wood |
| Ignoring weight distribution | Ensure even weight distribution for stability |
| Poor hardware selection | Choose high-quality hinges and screws |
Professional Advice for Durability and Support.
To ensure your Murphy bed lasts, use sturdy materials like 3/4″ plywood for the platform.
Reinforce the frame with corner braces and secure it firmly to the wall using heavy-duty anchors. Consider adding trim for a polished look and to hide any gaps.
Remember, precision is key. Take your time with each step, and don’t hesitate to seek advice from others who’ve completed similar projects.
Learning from others’ experiences can save you time, money, and future repairs.
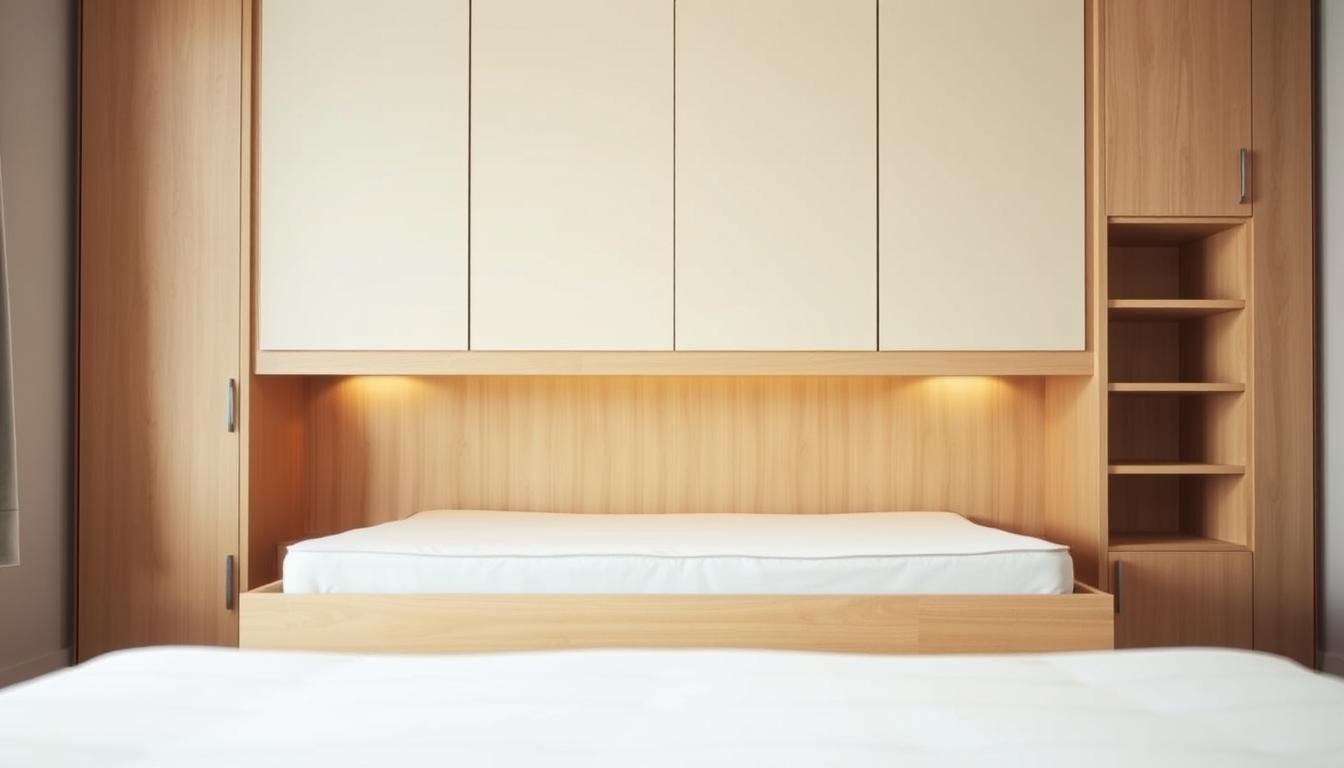
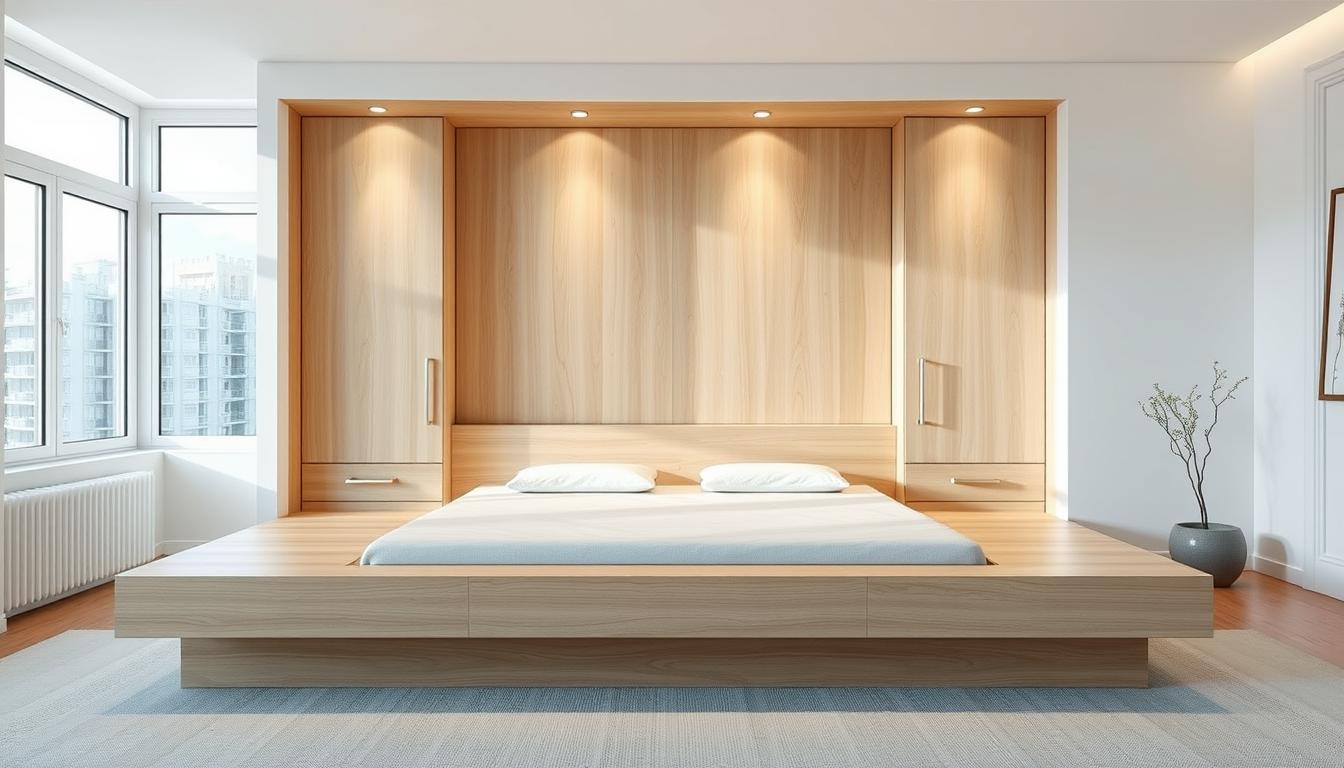
Enhancing Multifunctional Rooms with Custom Built-Ins.
Transforming a room into a multifunctional space goes beyond just installing a Murphy bed. Custom built-ins can elevate the functionality and aesthetics of your room, creating a seamless and cohesive design.
By incorporating shelving, storage, and decorative elements, you can camouflage the bed while enhancing the room’s overall usability.
Incorporating Shelving and Storage Options.
Integrating shelving and storage around your Murphy bed can significantly improve the room’s functionality.
Consider adding matching cabinet doors or open shelves to create a uniform look. For a polished appearance, use 2x4s for cabinet bases and 1×2 or 1×3 boards for accent trim.
Meticulous measurements are crucial to ensure a flawless fit and seamless integration with the bed frame.
Customizing Finishes to Match Your Home Decor.
To achieve a professional finish, coordinate your paint and trim with the room’s existing decor. Sand all surfaces before painting and consider using a handheld sprayer for a smooth coat.
This attention to detail will help the built-ins blend effortlessly with the surrounding furnishings, creating a cohesive design that minimizes visual clutter while maximizing usable space.
Examples of successful projects show how built-ins can transform an ordinary room into a multifunctional masterpiece.
By adding adjoining cabinets and shelves, you not only enhance functionality but also create a space that reflects your personal style and complements your home decor.
Conclusion.
Creating a Murphy bed is a rewarding project that transforms your space and enhances functionality.
By following the steps outlined, you can craft a bed that serves multiple purposes, from a cozy guest room to a productive home office.
Key steps include careful planning, precise measurements, and selecting quality materials like plywood and sturdy hardware.
Safety is paramount, so always wear protective gear and ensure the bed is securely attached to the wall. The end result is a space-saving solution that adds value to your home.
Not only does building your own bed save money, but it also adds a personal touch to your decor. I encourage you to share your DIY successes and learn from the tips provided.
Remember, with the right tools and planning, anyone can achieve a professional-grade Murphy bed project.
Related: DIY Bed Frame, DIY Book Shelf, DIY Closet, DIY Floating Bookcase, DIY Kitchen DIY Pull Down Bed, DIY Tool Bench, DIY Headboard Ideas.
FAQ
What are the benefits of a Murphy bed for small spaces?
A Murphy bed is an excellent space-saving solution. It folds up against the wall when not in use, freeing up floor space for other activities or furniture, making it ideal for small rooms, guest areas, or multipurpose spaces.
What tools and materials do I need for a Murphy bed project?
You’ll need basic woodworking tools like a saw, drill, and screwdriver. Materials include plywood, wood trim, screws, and wall anchors. A Murphy bed kit can simplify the process by providing pre-cut wood and hardware.
How do I ensure the bed is safely secured to the wall?
Always locate wall studs for anchoring. Use heavy-duty brackets and screws provided in a Murphy bed kit to ensure stability and safety. Double-check the weight limit of your hardware to match your mattress size, especially for queen-sized beds.
Can I customize the bed to fit my room decor?
Absolutely. You can stain or paint the wood to match your home’s style. Adding trim or molding can enhance the appearance, and you can even integrate shelves or cabinets for extra storage.
What is the average cost of building a Murphy bed?
Costs vary based on materials and size. A basic setup with a kit can start around $200, while custom builds with premium wood and finishes can range up to $1,000 or more. Planning ahead helps stay within your budget.
How long does it typically take to build a Murphy bed?
A simple DIY project can take a weekend, depending on your skill level. More complex designs with cabinets or custom finishes may require several days to complete.
What size mattress works best for a Murphy bed?
Most Murphy beds accommodate standard mattress sizes, including queen. Ensure your mattress thickness complies with the bed’s folding mechanism for smooth operation.
Are Murphy beds suitable for daily use?
Yes, modern Murphy beds are designed for regular use. Look for sturdy hardware and a solid frame to ensure durability and comfort over time.
Can I add storage to my Murphy bed setup?
Absolutely. You can incorporate shelves, drawers, or cabinets into the design. This adds functionality and maximizes your room’s potential.
What are common mistakes to avoid when building a Murphy bed?
Ensure accurate measurements, proper wall anchoring, and weight capacity compliance. Rushing the project can lead to safety issues, so take your time and follow instructions carefully.


