Have you ever wondered how to achieve healthy, glowing skin without harsh chemicals? A DIY green tea toner might be the perfect solution for you.
Made from simple, natural ingredients, this toner offers a refreshing way to balance your skin’s pH and unlock its full potential.
Green tea is renowned for its anti-inflammatory properties, as noted by experts like Barbie Ritzman.
It’s packed with antioxidants that can help reduce redness and protect your skin from environmental stressors. Plus, it’s incredibly cost-effective and easy to make at home.
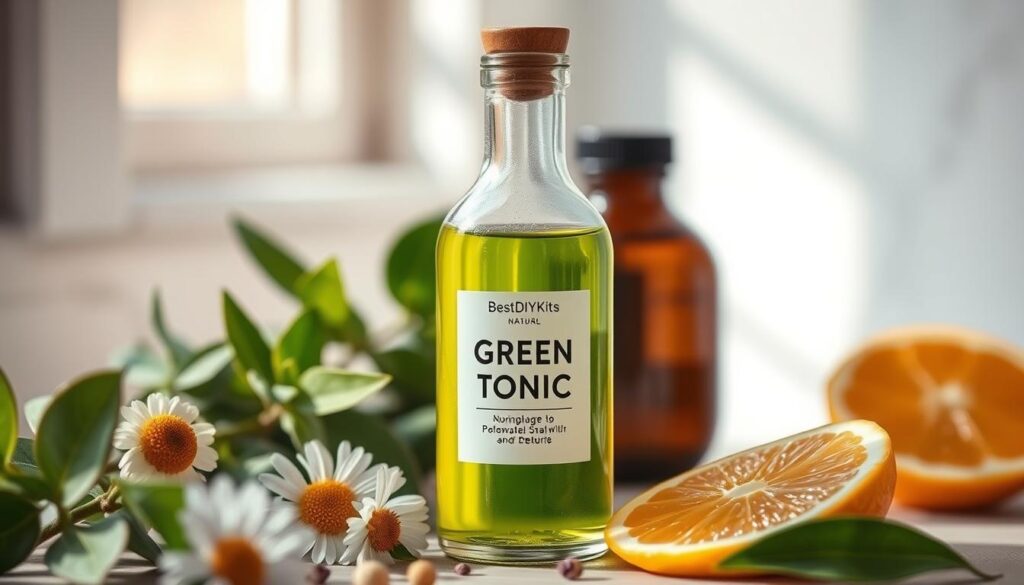
Using high-quality filtered water and proper storage in a glass bottle can ensure your toner remains fresh and effective.
The ideal pH level for skin is around 5.5, which this toner achieves naturally. Whether you’re dealing with oily, dry, or sensitive skin, a green tea toner can be tailored to your needs.
Stay tuned as we guide you through a simple, step-by-step process to create your own green tea toner.
With tips on brewing, ingredient selection, and storage, you’ll be on your way to healthier, more radiant skin in no time.
Key Takeaways
- Green tea toner is a natural, chemical-free way to balance your skin’s pH.
- It’s rich in antioxidants that reduce inflammation and protect against environmental damage.
- Cost-effective and easy to make with just a few simple ingredients.
- Ideal for all skin types, including sensitive skin.
- Proper storage in a glass bottle can extend its freshness up to two weeks.
Introduction to Natural DIY Skincare
Discover the transformative power of natural ingredients in your skincare routine. With the growing trend towards chemical-free beauty, many are turning to homemade solutions for healthier, glowing skin.
The Rise of Chemical-Free Beauty
More people are embracing natural skincare to avoid harsh chemicals found in commercial products.
This shift not only promotes healthier skin but also aligns with sustainable living practices.
How Homemade Toners Empower Your Routine
Creating your own toner offers cost savings and customization. You can tailor ingredients to your skin type, whether oily, dry, or sensitive, ensuring a personalized approach to your skincare needs.
| Aspect | Store-Bought Toner | Homemade Toner |
|---|---|---|
| Ingredients | May contain harsh chemicals | Natural and customizable |
| Cost | Often expensive | Cost-effective |
| Customization | Limited options | Tailored to your skin |
Using a quality bottle and applying with a cotton ball enhances the benefits of your toner.
The antioxidant properties of green tea, supported by scientific research, make it an ideal ingredient for reducing inflammation and protecting your skin.
Understanding the Skin Benefits of Green Tea
Green tea is more than just a soothing beverage; it’s a powerhouse of skin benefits. Packed with antioxidants like polyphenols and catechins, it offers a natural solution to common skin concerns.
Antioxidant Power and Anti-inflammatory Effects
Green tea’s antioxidants, particularly EGCG, combat free radicals that cause skin aging.
A 2010 study shows EGCG repairs UV-induced DNA damage, potentially preventing skin cancer. It also rejuvenates dying skin cells, improving texture and firmness.
Its anti-inflammatory properties reduce redness and irritation, benefiting conditions like rosacea.
Green tea even controls acne by reducing sebum production and damaging bacterial membranes, as noted in a 2003 study.
Expert Opinions and Research Backing
Barbie Ritzman, a skincare expert, highlights green tea’s ability to balance skin pH and reduce inflammation. She recommends using organic green tea for maximum benefits.
Research from Oregon State University confirms that green tea’s antioxidants improve moisture and reduce skin roughness.
Regular use can enhance elasticity, giving a youthful appearance.
| Aspect | Store-Bought Toner | Homemade Toner |
|---|---|---|
| Ingredients | May contain harsh chemicals | Natural and customizable |
| Cost | Often expensive | Cost-effective |
| Customization | Limited options | Tailored to your skin |
Using quality water and natural oils enhances your toner’s effectiveness. For optimal results, apply with a cotton ball and store in a glass bottle.
DIY Green Tea Toner: Essential Ingredients and Tools
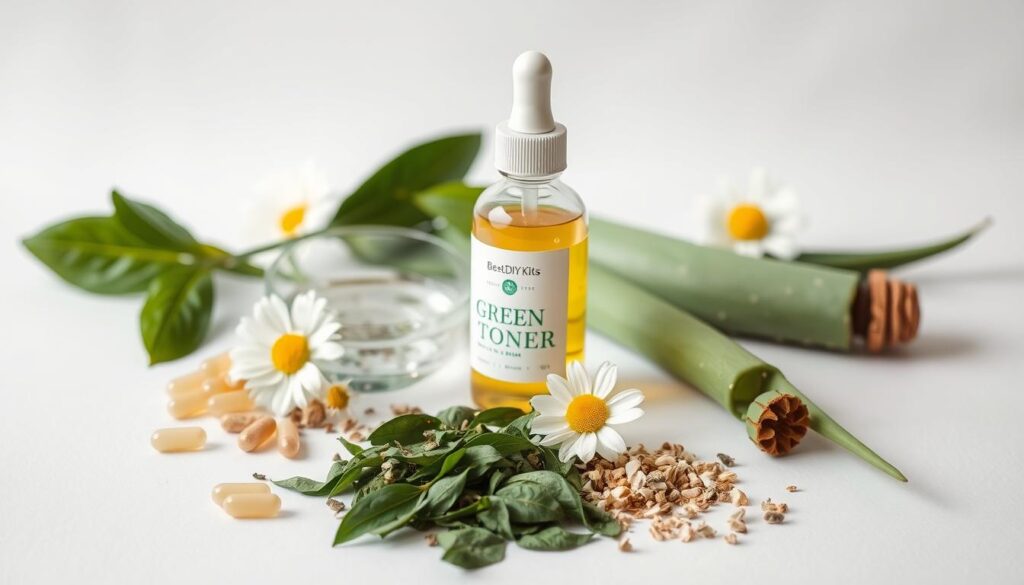
To craft an effective green tea toner, you’ll need a few simple ingredients and the right tools. Let’s break them down.
Must-Have Ingredients: Organic Green Tea, Witch Hazel, and More
- Organic Green Tea: Use one tea bag or 1 teaspoon of loose-leaf tea for every 8 oz of water. Look for high-quality, organic options to ensure maximum antioxidant benefits.
- Witch Hazel: This natural astringent helps reduce inflammation and tighten pores. Add 1-2 tablespoons depending on your skin type.
- Apple Cider Vinegar: Mix in 1 tablespoon to balance your skin’s pH and gently exfoliate. It’s especially helpful for acne-prone skin.
- Lemon Juice (Optional): Add a squeeze for its astringent properties, but use sparingly to avoid irritation.
Tools You Need: Bottles, Spray Bottles, and Cotton Balls
- Glass Bottle: Store your toner in a dark glass bottle to protect it from light and maintain potency.
- Spray Bottle: Perfect for even application and refreshing your skin throughout the day.
- Cotton Balls: Use these to apply the toner gently, ensuring even coverage without waste.
Boil water, steep the tea bag for 10-15 minutes, then mix in your chosen ingredients. Store the toner in the fridge for up to a week.
Applying it morning and night will keep your skin refreshed and rejuvenated.
Step-by-Step Guide to Crafting Your Toner
Ready to start your journey to glowing skin? Let’s dive into a simple, step-by-step process to create your own effective toner.
This guide will walk you through everything you need to know, from brewing the perfect cup of green tea to customizing your formula for your skin type.
Basic Recipe: Brewing and Steeping the Green Tea
To make a basic toner, start by boiling 8 fl oz (240 mL) of filtered water. Add one organic green tea bag or 1 teaspoon of loose-leaf tea. Let it steep for 5-10 minutes to release the antioxidants.
The longer you steep, the stronger the brew, but be careful not to overdo it to avoid bitterness.
Once steeped, let the tea cool slightly before mixing in your chosen ingredients. For a standard batch, you’ll need:
- 1 green tea bag (or 1 teaspoon loose-leaf)
- 1-2 tablespoons of witch hazel
- 1 tablespoon of apple cider vinegar (optional)
Combine these in a clean spray bottle and shake well. Store your toner in the fridge for up to 7 days to keep it fresh.
Alternative Recipes: Lemon, Tea Tree, and Vitamin E Variations
Customize your toner to suit your skin needs with these expert-approved variations:
| Ingredient | Benefit | Amount |
|---|---|---|
| Lemon Juice | Brightens and tightens pores | 1 tablespoon |
| Tea Tree Oil | Reduces acne and inflammation | 3-5 drops |
| Vitamin E Oil | Soothes and protects the skin | 2-3 drops |
For acne-prone skin, add a few drops of tea tree oil. For sensitive skin, try a squeeze of fresh lemon juice. These small tweaks can make a big difference in the result.
Remember, consistency is key. Apply your toner morning and night after cleansing for the best results.
With these simple steps, you’ll be on your way to a refreshed and rejuvenated complexion all year round!
Customizing Your Formula for Unique Skin Needs
Every skin type is unique, and customizing your toner can make all the difference. Whether you have oily, dry, or sensitive skin, tailoring your ingredients ensures the best results.
Adjusting for Oily, Dry, or Sensitive Skin
- Oily Skin: Increase witch hazel to 2 tablespoons and add 1 teaspoon of lemon juice to control sebum production.
- Dry Skin: Add 1 teaspoon of honey and use filtered water to maintain moisture without irritation.
- Sensitive Skin: Dilute the toner with an extra ½ cup of filtered water and avoid harsh ingredients like lemon juice.
| Skin Type | Customization | Benefits |
|---|---|---|
| Oily | Increase witch hazel, add lemon juice | Reduces oil, tightens pores |
| Dry | Add honey, use filtered water | Hydrates, soothes skin |
| Sensitive | Dilute with water, omit harsh ingredients | Prevents irritation |
Remember to test any new formula on a small area of skin before full application. This ensures there are no adverse reactions.
Using, Storing, and Maximizing Your Toner’s Benefits
Once you’ve crafted your toner, it’s essential to use and store it properly to maintain its effectiveness. Proper techniques ensure your skin reaps all the benefits while keeping the product fresh.
Effective Application Techniques and Dosage
For optimal results, apply your toner morning and night. Use a cotton ball or spray bottle for even distribution.
Gently sweep the cotton ball across your face, avoiding the delicate skin around your eyes. If using a spray bottle, mist evenly and let it absorb without rinsing.
Start with a small amount to test your skin’s reaction. Adjust as needed based on your skin type.
For oily skin, you might prefer a spray for lighter coverage, while dry or sensitive skin may benefit from a soaked cotton ball for extra hydration.
Proper Storage and Batch Longevity for Optimal Results
| Storage Tip | Benefit |
|---|---|
| Refrigerate immediately after making | Preserves antioxidants and prevents bacterial growth |
| Use filtered water | Ensures clarity and prevents impurities |
| Store in a glass bottle | Protects from light and maintains potency |
| Use within 7 days | Maintains freshness and effectiveness |
Keep your toner in the refrigerator to maintain its potency. Use filtered water to ensure clarity and prevent impurities. If you notice any separation, simply shake the bottle before use.
“Consistency is key. Apply your toner twice a day and store it in the refrigerator to keep it fresh.” — Skincare Expert
Always test a small area first to avoid any adverse reactions. With proper care, your toner will remain effective for up to a week, giving you a refreshing skincare routine.
Conclusion
Creating your own green tea toner is a simple yet powerful way to enhance your skincare routine.
As we’ve explored, this natural solution offers numerous benefits, from balancing your skin’s pH to reducing inflammation and protecting against environmental stressors.
Apple cider vinegar and witch hazel are standout ingredients that enhance skin clarity and tone, making them essential additions to your DIY recipe.
Expert-backed research, such as the 2010 study highlighting EGCG’s role in repairing UV-induced DNA damage, underscores the toner’s efficacy.
These findings, combined with testimonials from skincare experts like Barbie Ritzman, reaffirm the toner’s ability to promote healthier, more radiant skin.
Remember to experiment safely and share your experiences in the comments below.
Whether you’re addressing acne, soothing sensitivity, or simply seeking a cost-effective skincare solution, this green tea toner is a proven, customizable answer.
For further validation, explore the expert links provided, and don’t hesitate to review the results of your toner over the coming weeks.
Related: Aloe Vera Face Mask, DIY Green Tea Toner, DIY Charcoal Detox Face Mask.
21 Care & Beauty DIY Projects for Natural, Affordable Self-Care
FAQ
What are the key benefits of using a green tea toner for my skin?
Antioxidants and anti-inflammatory properties in green tea help soothe and protect your skin, reducing acne and promoting a balanced complexion.
How do I store my homemade green tea toner to maintain its potency?
Store it in a glass bottle in the refrigerator to keep it fresh. It’s best used within two weeks for optimal results.
Can I customize the toner for my specific skin type?
Yes! For oily skin, add a few drops of witch hazel. For dry skin, mix in a teaspoon of honey for extra moisture.
How often should I apply the toner for best results?
Use it morning and night after cleansing. Soak a cotton ball with the toner and sweep it across your face to balance your skin’s pH.
What optional ingredients can enhance the toner’s effectiveness?
Adding lemon juice can brighten your skin, while apple cider vinegar helps with acne. Start with small amounts to test your skin’s reaction.
How long will it take to see results from using the toner?
Many notice improvements in 1-2 weeks, but consistent use for a few months will yield the best outcomes due to the cumulative effects of antioxidants.


